How to Encash a Cheque: Cheques are still a reliable way to transfer money, even with the rise of digital payments. Whether you receive a salary cheque, a payment from a client, or a personal cheque from a friend, knowing how to encash it properly can save you time and avoid unnecessary delays.
Many people face issues when trying to encash a cheque—banks rejecting it due to errors, long waiting times, or simply not knowing where to go. This guide will walk you through everything you need to know about cheque encashment, from different cheque types to the exact steps you need to follow.
What Does It Mean to Encash a Cheque?
Encashing a cheque means converting it into cash by presenting it to a bank. The bank verifies its authenticity, ensures there are sufficient funds in the issuer’s account, and then releases the cash.
This process is not instant—it may involve verification, security checks, and, in some cases, a waiting period. If there are errors in the cheque, such as incorrect dates or mismatched amounts, the bank may reject it.
How to Fill a Cheque for RTGS Transactions – A Step-by-Step Guide
Different Types of Cheques and Their Encashment Rules
Not all cheques work the same way. Some can be encashed directly at the bank counter, while others need to be deposited into your account. Here’s a breakdown:
A. Bearer Cheque (Easiest to Encash)
- A cheque with “or bearer” written next to the payee’s name.
- Anyone holding the cheque can cash it without needing an ID.
- Example: If someone hands you a bearer cheque, you can walk into the bank and withdraw the amount immediately.
💡 Risk Alert: If a bearer cheque is lost, anyone can encash it. Always keep it safe.
B. Order Cheque (Requires Verification)
- The words “or bearer” are canceled or replaced with “or order.”
- Only the person whose name is on the cheque can encash it after showing ID.
- Example: If a cheque is made out to “Rahul Mehta,” only Rahul Mehta can withdraw the cash after proving his identity.
C. Crossed Cheque (Cannot Be Encashed Directly)
- Recognized by two diagonal lines drawn across the top left.
- Cannot be encashed at the counter—must be deposited into a bank account.
- Example: Most company salary cheques are crossed, meaning employees must deposit them.
D. Post-Dated Cheque (Can’t Be Cashed Immediately)
- A cheque issued with a future date.
- The bank will not cash it until the mentioned date arrives.
- Example: If a cheque is dated April 20, you can only encash it on or after April 20.
E. Self-Cheque (For the Issuer’s Own Use)
- Issued by an account holder to themselves.
- The payee section contains the word “Self” instead of a name.
- Example: If you need to withdraw ₹50,000 from your own bank account, you can write a self-cheque and encash it.
Step-by-Step Process to Encash a Cheque
Once you’ve identified the type of cheque, follow these steps to encash it smoothly.
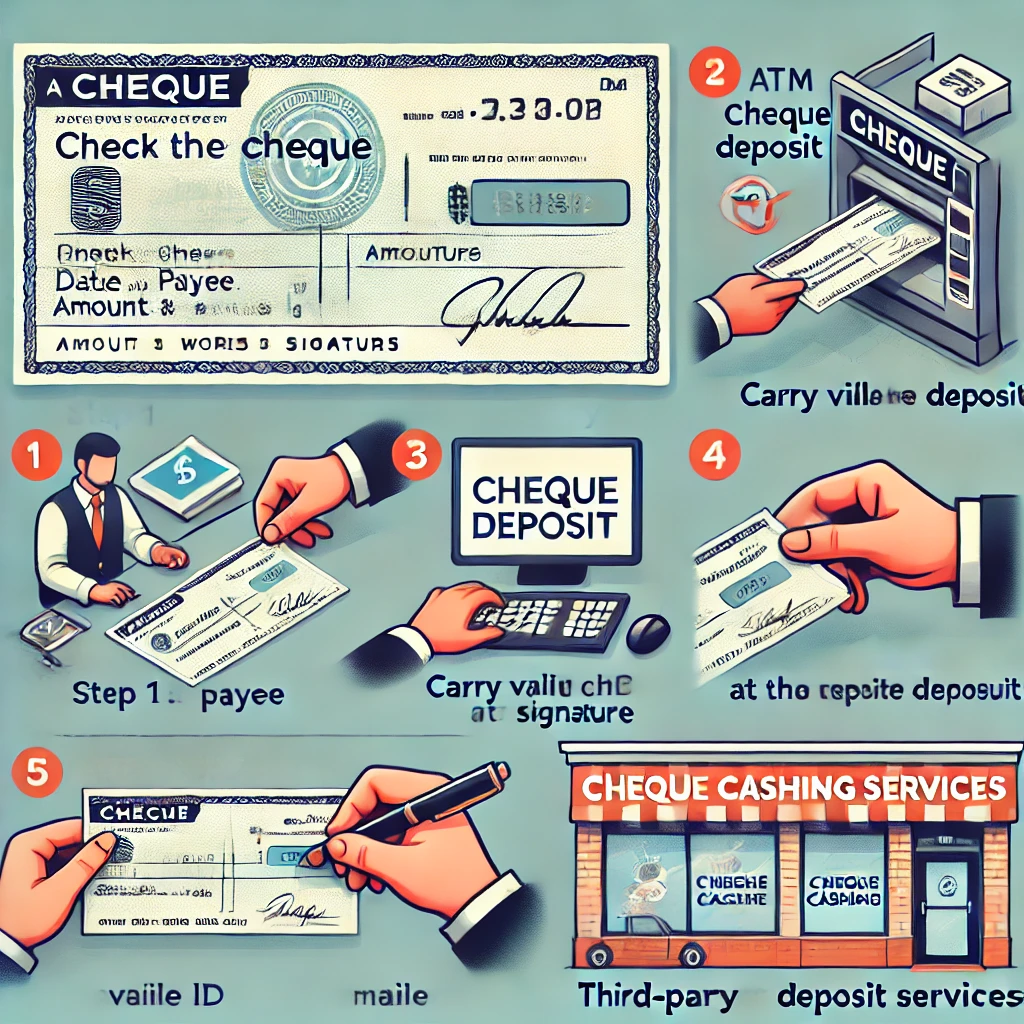
Step 1: Check the Cheque for Accuracy
Before heading to the bank, check these details carefully:
✅ Is the date correct? (Not post-dated or older than 3 months)
✅ Does the signature match the issuer’s bank records?
✅ Are the figures and words for the amount identical?
🔹 Example Mistake: If the amount in words says “Twenty Thousand Rupees” but the numbers show ₹25,000, the bank will reject the cheque.
Step 2: Choose the Right Bank for Encashment
- If the cheque is issued from your bank, go to your home branch for quick processing.
- If it’s from a different bank, you may have to visit their branch or deposit it in your own account.
- Some banks allow encashment at non-home branches but may charge a small fee.
💡 Pro Tip: If you have an account in the same bank as the cheque issuer, you might get instant credit.
Step 3: Carry a Valid ID (If Required)
For order cheques, banks will ask for an identity document such as:
- Aadhaar card
- PAN card
- Passport
- Driver’s license
🔹 Example: If a company issues an order cheque to “Vikas Sharma,” he must carry an ID that matches the cheque name.
Step 4: Endorse the Cheque (If Necessary)
For some types of cheques, you may need to sign at the back to prove you are the payee.
✔ For order cheques: Always sign on the reverse side before submitting it.
💡 Important: Do not sign at the back of a blank cheque—this can be misused.
Step 5: Submit the Cheque at the Teller Counter
- Hand over the cheque to the bank teller.
- If needed, fill out a withdrawal slip.
- Wait while the cheque is verified.
🔹 Example: Some banks may ask you to sign a receipt before handing over the cash.
Step 6: Collect Your Cash
- Once the bank approves the cheque, they will give you the money.
- Count the cash before leaving the counter.
- If you receive a receipt, keep it for records.
💡 Pro Tip: If withdrawing a large sum, deposit it in your account or use digital payments for safety.
Can I Open a Bank Account Without a PAN Card in India?
Alternative Ways to Encash a Cheque
Not everyone wants to stand in long bank queues to encash a cheque. Fortunately, there are other ways to get your money without visiting the bank.
A. ATM Deposit
Some banks allow you to deposit cheques using ATMs equipped with cheque-accepting slots. Simply insert the cheque, follow the on-screen instructions, and wait for it to be processed. The amount is usually credited to your account within 24-48 hours, depending on the bank’s clearing process.
B. Mobile/Online Deposit
Many modern banking apps offer a cheque scan deposit feature. You just take a clear photo of the cheque using your phone, upload it to the bank’s app, and submit it. Once verified, the amount is deposited into your account without any need to visit a branch. This method is especially useful for businesses and individuals who prefer remote banking.
C. Third-Party Cheque Cashing Services
In urgent situations, cheque-cashing businesses offer quick cash in exchange for a service fee. While convenient, these services often charge a high percentage of the cheque amount, making them an expensive option. It’s best to use this only when no other option is available.
Important Things to Remember
Encashing a cheque might seem simple, but small mistakes can lead to delays or even rejection. Here are a few key things to keep in mind:
✔ Check the condition of the cheque – If it’s damaged, torn, or altered, the bank may refuse to process it.
✔ Never sign a blank cheque – This is a serious security risk, as anyone can fill in an amount and misuse it.
✔ Be aware of cheque validity – Most cheques are only valid for three months from the date written on them. After that, they become void.
✔ Beware of fraud – If you receive a cheque from an unknown source, verify its authenticity before attempting to encash it. Banks may place holds on suspicious cheques for further verification.
Taking these precautions will help ensure a smooth cheque encashment process, whether you’re using traditional banking or alternative methods.g.
Conclusion
Encashing a cheque is simple if you know the process. Always check the cheque for accuracy, carry necessary documents, and follow the correct procedure to avoid delays. If you want to save time, consider depositing the cheque through ATMs or mobile banking.
Knowing how to encash a cheque properly ensures that you receive your money without hassle. If you’re unsure about a cheque type or process, don’t hesitate to ask your bank for guidance.
FAQs on Cheque Encashment
1. How do you encash a check?
To encash a cheque, follow these steps:
- Verify the cheque details – Ensure the date is valid, the amount matches in words and figures, and the issuer’s signature is present.
- Visit the correct bank – If the cheque is from your bank, go to your home branch. If it’s from another bank, you may need to visit the issuer’s branch or deposit it in your own account.
- Carry a valid ID – If the cheque is an order cheque, you’ll need to present identification.
- Endorse the cheque (if required) – If your name is on the cheque, sign on the back as proof of receipt.
- Submit the cheque at the counter – Hand it over to the bank teller, who will verify and process it.
- Receive the cash – Once approved, you will receive the cash. Always count it before leaving.
Can I Send Money from a Credit Card?
2. How do you cash a cheque?
Cashing a cheque follows the same process as above. However, if you don’t want to visit the bank, you can use alternative methods:
- ATM cheque deposit (if supported by your bank).
- Mobile cheque deposit using a banking app.
- Third-party cheque cashing services (with a fee).
3. Can a cheque be encashed at any bank? / Can I cash a cheque at any bank?
Not always. Here’s what you need to know:
- If the cheque is from your bank, you can encash it at your home branch or, in some cases, other branches.
- If the cheque is from another bank, you may need to visit the issuer’s bank to cash it.
- Some banks allow non-customers to encash cheques, but they may charge a fee.
- Crossed cheques cannot be encashed at any bank—they must be deposited into a bank account.
💡 Tip: To avoid delays, check your bank’s policy before visiting a branch.
4. What do I need to cash a check?
To cash a cheque, you typically need:
✔ The original cheque, properly filled and signed.
✔ A valid ID (for order cheques or high-value amounts).
✔ A bank account (if depositing instead of encashing).
✔ A withdrawal slip (if required by the bank).
Having all these ready ensures a smooth transaction.